
Hi! And welcome back to another What do I need to begin making my own skincare post! In this post we are going to be discussing equipment. This list is by no means complete and this list is what I think is important. Everyone has their own needs and their own preferences as to what they like or need when creating. And what makes it difficult, you won’t really know what you like in your creative area until you try it out.
As discussed in the Before You Begin post, you will need a notebook to write all your fancy new recipes down and all your awesome notes too!
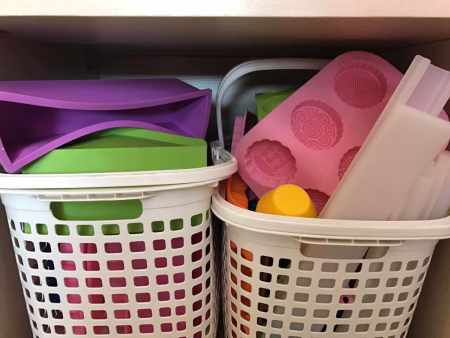
No matter what you decide to make, please make sure that you have an organised storage system for your ingredients and containers. The featured images in this series are all the most challenging parts of the hobby, but more on that later. I can’t wait to show you my new and improved Potions Room! Stay tuned for more Questions posts! Some of our future posts will cover: basic ingredients, how to’s, advanced and exotic ingredients, preservatives and more.
Soaping from scratch:
This section will cover cold process soap, hot process soap making and liquid process soap making.
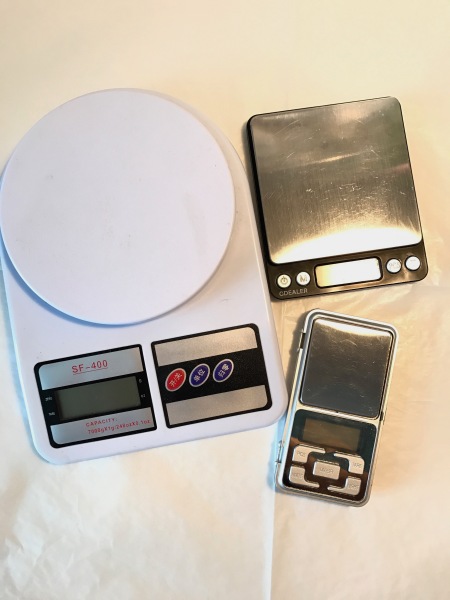
Digital Scale:
If you are going to be soaping, you’ll want to make sure your scale is 1g accurate to about 3kg~5kg. All soapers measure by weight and not by cups as it is much more accurate this way. I am Canadian, so I use metric, but if you are American and prefer ounces, make sure your scale is in ounces. Yup. Stating the obvious.
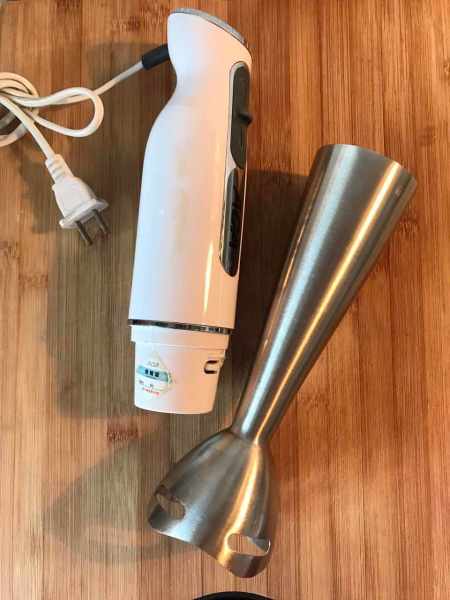
Immersion Blender:
Many people say you can just use the same one you use in the kitchen as you do for soaping. And while I actually do agree with them, this is fine if you are just making soap for you and your family. But once you pass into the realm of making for others, you really should pick up a secondary immersion blender. You can use a hand held whisk and just stir your soap as well. When you are looking for an immersion blender, you don’t need to buy the best of the best, it will break down. The really good ones break down just as fast as the cheaper models. Visit your local second hand store and see what they’ve got. If you are seriously thinking about DIY’ing hardcore, then I’d strongly suggest one that has a detachable immersion part thingie and buy two or three of them. When I am soaping different colours, it’s nice not to have to take a moment clean the attachment, attach then go. That precious wait time can wreck havoc on your pour.

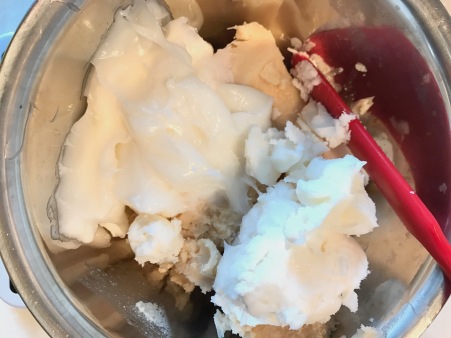
Bowls:
I have always loved soaping in my large stainless steel bowls. Some like glass, some like plastic, I like my large stainless steel bowls. I like how I can feel the temperature immediately and not have to wait to see if the temperature has changed. If you plan on making large amounts of soap, then you will need much larger bowls. The big tall one is for my mixing, and the small one is my lye solution container. I use plastic pitchers (microwave safe) for pours and for mixing colours.
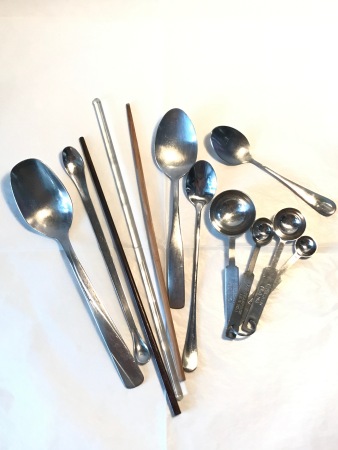
Cutlery:
Spoons. Large soup spoons for the win! I cannot tell you just how much I use spoons while soaping. I’ve watched videos of others soaping and they don’t use near as many spoons as I do. So I think this one might just be me. But, I love having countless stainless steel soup spoons around while I soap. I also use about four spatulas or more for each batch of soap. I also use chopsticks, hangers, butter knives- again. Some people just mix and pour and some people want to make works of art and just be creative. Or attempt to make works of art.
Molds:
Most people just start off soaping with a milk carton or a shoe box or a pringle can or something like this. And that’s great! I did! I began soaping in a Pringle Can only to realise that it wasn’t a Pringle Can, but a plastic Lay’s Potato Chip canister. So I had to cut my soap out with a knife, which quickly led to another batch using a juice carton. I wish I had photos from my most earliest work, but my phone went swimming in coffee one night and I lost all my photos from this time! If all you have is a cardboard box, just line it with a ziploc bag and it’s perfect! It’s truly a perfect solution and even to this day there are times where if I need a specific type of shape or such, I will use a cardboard box and plastic liner. I’ve long since bought lots various molds over the years: slabs, loafs, individual, quirky and more, and they are all good! Just be warned, you’re probably going to buy too many ones that will never be used again.
Ingredients:
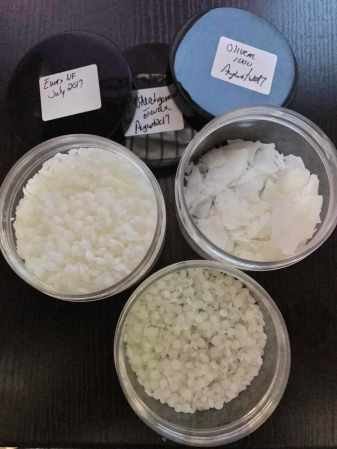
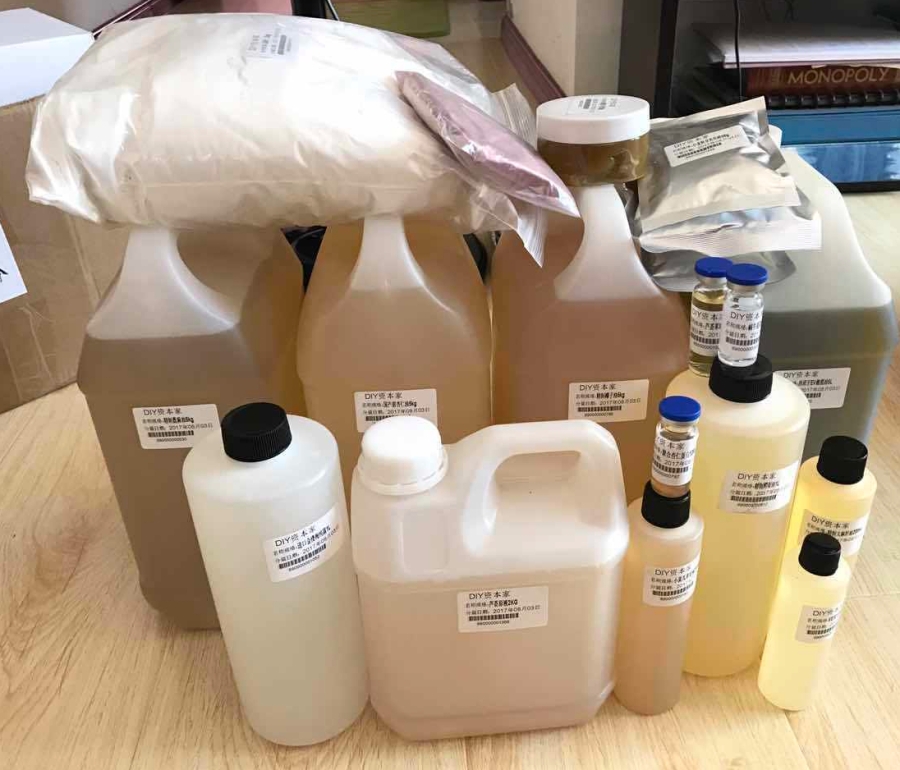
This is where you are going to do your head in. Various blogs and websites out there tell you that they have the best recipe and use the best ingredients, but really? It is learning which ingredients your skin loves; and that doesn’t happen in your first batch. It may or may not happen in your first year or five years of soaping. I’m going on year nine soon and I am still tweaking my standard recipe a wee bit. You’ll need to take into consideration the climate, storage space and ingredients you can purchase easily before you look at your recipe. Humid climates need harder fats and oils (tallow, lard, coconut oil, cocoa butter, palm, stearic acid), whilst drier climates need softer fats and oils (rice bran, wheat germ, apricot kernel, olive). Then, you’ll need to learn what skin properties you want your soap to have. As well, if you want commercial grade bubbles, various lather styles… My favourite part of soaping is deciding all these things then making it happen. And, even though many tell you that you can use the oils you buy at the grocery store, that is actually an iffy point. Basically, how long has that gourmet bottle of pumpkin seed oil been sitting there? Is that olive oil really pure or is it one of those hybrids of olive oil flavoured rapeseedoil/corn oil?
Many blogs out there will tell you that making your own soap is cheap. And while yes, it is very true, it is not cheaper than a beauty bar. Now take a look, if you need to buy all this equipment, add on all the costs for colourants, molds, various oils, you’re looking at a pretty hefty price. Then you are looking at perfecting your bar to make it amazing for your skin. And that takes years. Every time I make a new recipe of soap, I think wow, this is amazing! It can’t be beat! There is no way I can make soap better than this. So I keep that recipe for a while, then get the bug to change it up a bit so I do. Then start all over again. And then you’ve got the stock pile of soap that is rockin’ soap, but what to do with it?
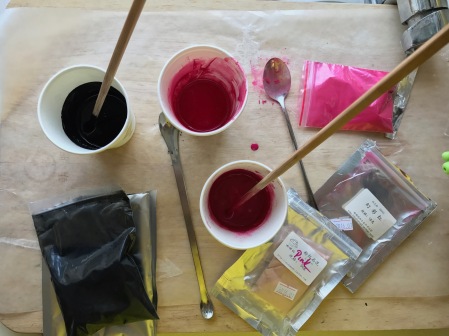
Then, you will need to think about colourants, fragrances, essential oils, additives like clays and extracts, silk, sugar, salt and more. Remember how I said I dedicate an entire room to this hobby/job? Now you can see why!
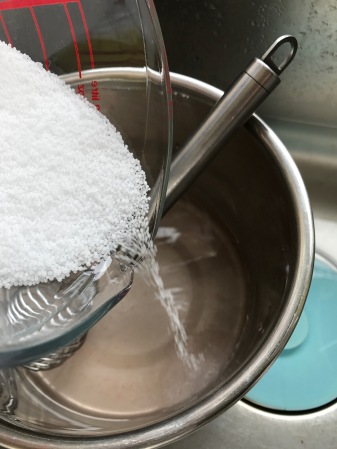
No, you cannot make soap without lye. No amount of being told, my friend makes soap and doesn’t use lye! Your friend is making melt and pour soap. Not cp soap. Not the same thing. And the company who made your mp soap used lye. Lye is an essential part of the soap making process, without it, we’d just have a bowl full of oils mixed with water that will begin to mold in no time and stink.
No Lye=No Soap
Safety equipment:
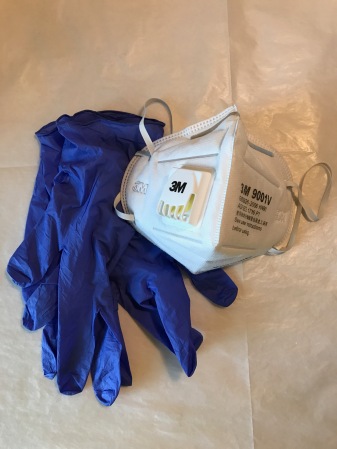
- GLOVES are a must. Please, please, please, don’t do want many of us have done in the past and shrugged it off saying you’ll be careful. Yup, been there done that. I’ve got the soap spatter scars to prove it. Soap is still caustic (can burn you) for the first approximately 48 hours. We all end up wearing gloves so please, pretty please, start wearing gloves from the very beginning.
- APRONS: I wear an apron to protect my clothes and for its pockets. I like being able to toss a pencil or tissues or phone into the pockets. Not to mention, an apron helps prevent your hair from finding its way into your soap, and aprons also help to protect your clothes from oil splatters. I honestly only bought one last year for the first time, but ever since I got it, it’s been a godsend and cannot recommend one enough! My apron collection has blown up and I wear them now every time I’m in the kitchen doing something.
- EYES: I wear glasses ALL the time, they are always on my nose. If I didn’t wear glasses, I would be wearing safety goggles to protect my eyes and even possibly a face shield if you are prone to messes. That lye can burn you!
- CLOTHING & SHOES: Yes, while making soap I do wear proper closed toe shoes. Shall I show you the lye splatter scar? I wear long pants while making soap for the same reason. I don’t always wear long sleeved shirts while making soap simply because most long sleeved shirts will only reach to my mid-forearm. I’m that tall.
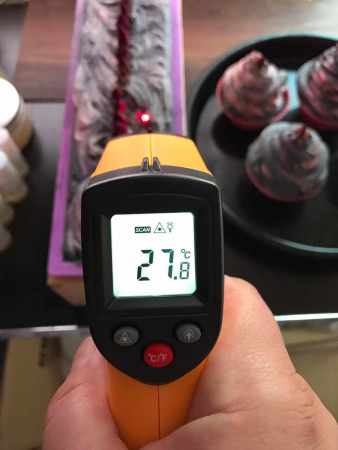
Thermometre:
Some people like to room temperature soap, some people like to soap while everything is cold, and some like to soap while everything is hot, but one thing most people who soap do, is try to mix your fats and oils with the lye solution while they are about the same temperature. I would strongly suggest at the beginning, get a thermometre so you can take accurate notes to record what happens. You don’t need a fancy dancy one like mine (it was one of two birthday presents last week from me to me), but if you are just starting out, I would strongly recommend a thermometre. As mentioned, you can record your results, and if you are not successful, you have all the information to pass on to someone to help figure out what happened.
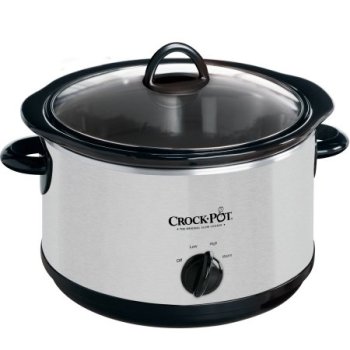
Crock Pot:
If you are planning on making liquid soap or hot process soap, you will need to have a crock pot. Your crock pot must be made with a ceramic inner. A rice cooker IS NOT A CROCK POT. If your crock pot is a Chinese model and it has a clay finish, please do not use due to the clay potentially being porous.
Making Lotions/ Creams/ Moisturisers/ Toners
This section will cover the basic equipment needed for oil in water emulsions, toners, and other various liquid products. Unless I haven’t already shared it above, I won’t be sharing a photo!
Heat Proof/ Heat Resistant Containers/Pots/Measuring Cups:
You will need at least three. You can get away with two, but life is much easier with three! I began by using Pyrex 500mL heat resistant measuring cups and have since moved onto a beaker and Pyrex combo which I find works much better for me. These will be in and out of a double boiler/water bath, so you need to make sure that it can take the heat. Bottom line, you want it to be able to take high temperatures, and if possible get yourself some borosilicate glass.
Digital Scale:
Same as with soaping, but you will need a little more accuracy. If you are planning on making your own makeup and lotions, having a scale that can measure 0.01g is a good thing. Especially if you are working in 50g batches for something as you might be measuring .5g of something. Taking accurate notes, getting into this habit early is the best gift you can give yourself. And whilst you might be thinking, “.06g over on an oil doesn’t make all that big a difference!” And while that might be true for say, 100g of lotion, but what happens if that lotion becomes your favourite lotion and you want to make a 2kg batch for Christmas for friends and family? That’s well over 100g of an ingredient you may or may not be adding and that can make a huge difference.
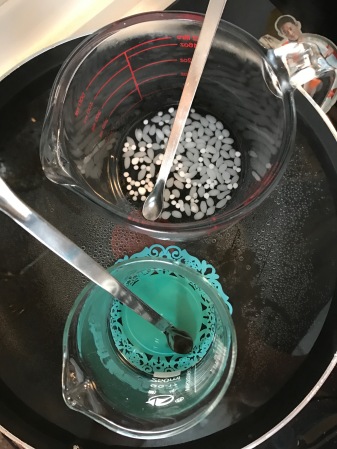
Emulsifying Wax:
No, beeswax and borax is not an emulsifying wax. You will get something gross and heavy and feeling kind of like rendered whale blubber sliding over your skin. If you plan on making water based lotions and creams, get yourself some good ewax. I personally like Emulsifying Wax-NF (INCI: Cetearyl Alcohol (and) Polysorbate 60) when I am playing with something new. It is idiot proof and that is why I like using it. It is really hard to fudge up! If you are new to DIY and lotion making, I do strongly suggest emulsifying wax-NF as it is beginner friendly, performs beautifully, and has never let me down even in the craziest of recipes! But once you get creating, you should try to branch out to try lots of various ewaxes to see which you like the best! I like Emulsifying Wax-NF, Polawax (INCI: Cetearyl Alcohol, PEG-150 Stearate, Polysorbate 60, and Steareth-20) and BTMS-50 (INCI: Behentrimonium Methosulfate, Cetyl Alcohol, Butylene Glycol).
My regular seller just sent me some sort of wheat germ based ewax (INCI: I have no idea, I don’t know anything about this ewax but I must try working with it! That is the fun!) and Olivem 1000 (INCI: Cetearyl Olivate (and) Sorbitan Olivate). Both of these ingredients I’ve never worked with before, this just shows you that there are always new ingredients to play with!
Immersion Blender/Whisk:
If you are lazy, use an immersion blender. If you are not so lazy? Use an immersion blender. You can use a whisk, but one of my issues with a whisk is that you get too many air bubbles, and air bubbles make your end product feel like a sponge as all those air bubble friends meet up to form bigger air bubbles. Don’t even get me started on an electric whisk or electric hand held mixer thing. Good lord. I do strongly suggest using an electric whisk or blender on high speed once at some point. I really do. It makes the most awesome creations, where it feels like pudding hyped up on a CO2 machine. It’s pretty funky!
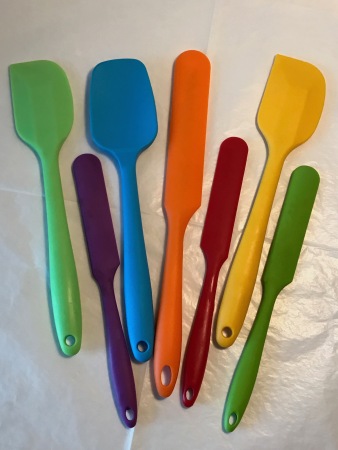 Spatulas:
You too will come to value a spatula at some point like a DIY’er champ. They are fantastic little chunks of silicone glory. They bend and get every single last drop of your creation out of the container and that’s the only thing that matters! Invest in a couple of each size, and be sure that you get the ones that won’t stain, can be used at high temperatures, and most importantly, a single chunk of silicone so you are not having to worry about gross stuff where the handle meets the silicone.
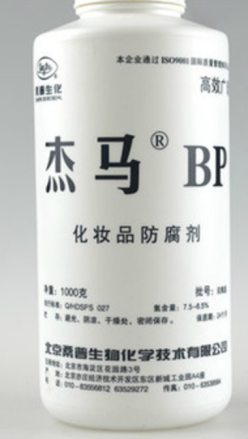
Preservatives:
This is not a choice between a blue shirt and a green shirt. This is not a choice of which shoes to wear with which outfit. Or should you order the fish and chips or the vindaloo curry. This is more along the lines of you fell off a bike and you can see your bones, do you go to the hospital or your acupuncturist? The answer is EASY. Preservatives. I like Liquid Germall Plus as I can get it now easily in China, but there is a plethora of preservatives out there that you can choose from. Liquid Germall Plus (INCI: Propylene Glycol (and) Diazolidinyl Urea (and) Iodopropynyl Butylcarbamate) is a broad spectrum preservative, that is a reliable preservative system. I am excited to hit up Europe and buy a few different types of preservatives and test them all out! I am really keen on trying a paraben based preservative and hitting it up with a bunch of fungi!
Be skin safe. Don’t put your health at risk!
 Ingredients:
The same thing as soaping. You want to figure out what your skin likes and learning what your skin likes can take time. I love to play with exotic oils, cosmeceuticals, gels and such, but in a month or so I am going to swing back to thicker oils, lotions, butters and such as the weather changes. My biggest suggestion, choose if you are going to make face recipes or body, and find oils and butters and ingredients that can be used in various ways.
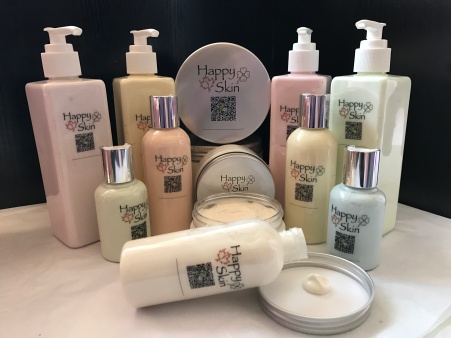
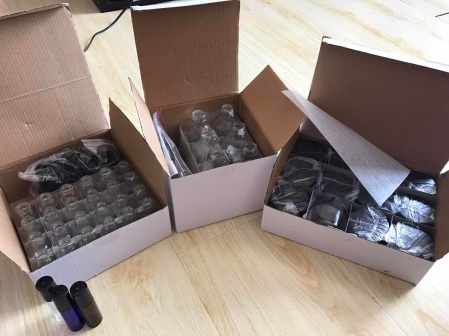 Containers:
Now this is where choices get really hard. Do you buy the cute little butter pots with the black lid or the silver lid? The tall ones or the stubby ones? Do you choose glass over plastic? Then the best question of all, where do you plan on using your product? You don’t want glass in the shower or bathtub. You want plastic. What you choose to make and with which ingredients will determine which type of container you end up buying. If you are looking to just start out, I would say grab some glass Mason/Bell jars in the smaller sizes with a bunch of extra lids is a great place to start, they are versatile can hold small to medium sized amounts of product and then if you decide you enjoy DIY’ing, you can change out the lids and use them in the kitchen after a very good clean. Then go crazy container shopping! I loved working with Mason/Bell jars as they were VERY easy to clean, they could be sterilised easily, and are the only containers I feel comfortable reusing.
If you make the change from Mason/Bell jars to plastics and small neck glass bottles, you really should not reuse the container no matter how good you think you have cleaned.
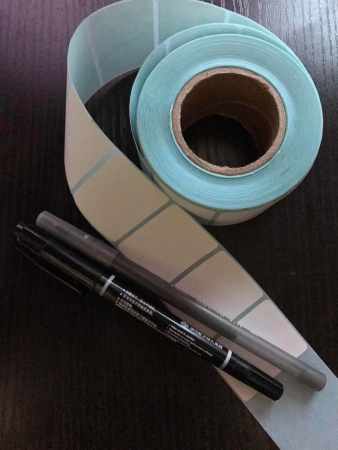
Labeling:
Please. For the love of real coffee makers of the world, label your products. You can use pretty labels that you design on your computer and print out, you can use Kraft Labels (that awesome amber/brown type of paper that makes everything look old fashioned cool apothecary shopish), you can use masking tape (I miss masking tape) you can use nail polish. But please, please, please, label and date everything you make. You’re not going to remember what that 47th tube of lip chap is in your fridge. You’re not going to remember which product is the 5% shea butter or the 8% shea butter facial lotion as they are in the exact same looking container, they look the same, they smell the same- and you’re screwed. You’re not going to remember if this spray has silk or oats because that is the only difference in the two products because you really wanted to see if there was a difference. True stories, and it will happen to you too.
Label.
Please.
Alright folks! I think that is it. I’ve covered hopefully a fair bit of the basic equipment you will need to soap and create lotions. If you are reading this and can think of any additional equipment needed, let me know!

All very good advice! “Storage” is one thing you also need. Tons and tons of storage for all those soap molds, supplies, and especially containers you will be collecting! My dining room is packed full of cabinets and shelves that hold nothing but supplies, containers and equipment. Of course it is for soaping, lotion making and my herbs, but still… Nice article. Thanks for sharing.
LikeLiked by 1 person
Storage space was mentioned at the very beginning of this article; “No matter what you decide to make, please make sure that you have an organised storage system for your ingredients and containers. The featured images in this series are all the most challenging parts of the hobby, but more on that later. I can’t wait to show you my new and improved Potions Room! ”
Thank you for visiting!
LikeLike
Really useful! Hoping to start making lotions and potions next month so great timing – thanks!!
LikeLiked by 1 person
Good luck and have lots of fun! I’ll be posting a few more lotions over the next few weeks!
LikeLiked by 1 person
Great article, I am really enjoying your blog 😀 I would add a smallish funnel for easy filling for toners and lotions, also some small dishes/pots for weighing out ingredients. Looking forward to the next installment.
LikeLiked by 1 person
Ohhhh yes! Good add! I use beakers and they all have great spouts so haven’t though about a funnel in ages!
LikeLike
Thanks for visiting Pauline!
LikeLike
i went out and bought all kinds of labels from the office supply store, thinking I would be fancy and create labels for all my different creations. And what do I use? Blue painter’s tape and a Sharpie. True story.
LikeLiked by 1 person
Yup. Printing out labels is a pain in the arse!
LikeLike
Wow. This is the most comprehensive list of materials needed for soaping I have ever seen. I do wish I had found this a few years ago when I started. I self taught and learnt as I went really. I’m impatient and having to wait for equipment to arrive before I could start a new soap really annoyed me.
LikeLiked by 1 person
Thank you for your comment!
I wish when I first began making things that there was a list similar to this. I too am basically self taught, so now learning the proper names for various things I’m doing is fun, but I wish I learnt the right way to begin!
Good luck in your soaping adventures! There will be some soaping recipes coming soon!
LikeLiked by 1 person