
The more you know about oil to wax ratios the more your mind spins and spins with all the various ideas you can come up with. Lip glosses, lip glosses, lip glosses and more lip glosses, knock off type of vapour rub, lip glosses, a weird sorts of goo and lip glosses. Did I mention lip glosses?
This idea came to me years and years ago one day while I was getting a foot wash. However; I never acted on this thought till a few weeks ago. Now a foot wash in China is fantastic. You pay a few kuai (our version of quid or buck) and you get your toes washed, all the dead skin is removed and then you get a foot massage. How awesome is that! And, to make it even more awesome? It is socially acceptable for social activity for men and women to do together. Just if a Chinese man says a foot wash at a hotel? Run away. It means more than just a foot wash.
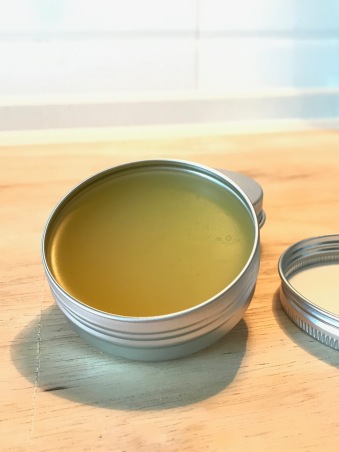
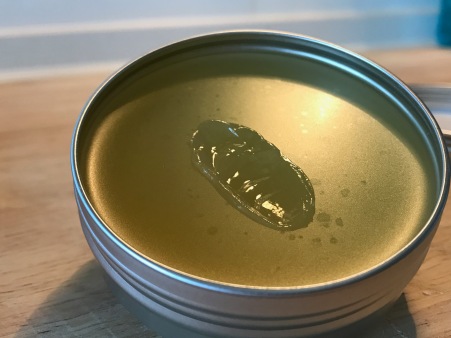
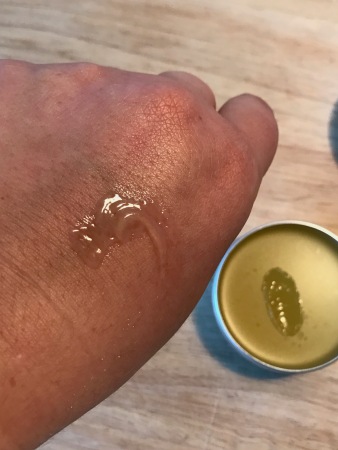
For any sort of massage oil, you want to make sure that your base is not going to be absorbed by the skin all that quick. You want to make sure that the oils stay on the skin and are slowly absorbed. You also want to make sure that friction doesn’t present a problem, that hands can glide and slip over your skin. You also want to make sure that the oils are good oils for their intended purpose. And that it smells delightful! I also really hate it when I spend all that money on a pretty bottle and spend my time figuring out which liquid oils and fragrance oils to add only to have the bottle ruined because people can’t pour without spillage! So a massage oil based sort of gel like product was born! It is a clean mess. In a pot. I was also looking to make a product that is solid in the tin, but melts almost immediately in contact with the skin.
For this here Foot & Ankle Massage Gel, we are using sweet orange essential oil only because I want to use up our essential oil stock. So feel free to sub in any fragrance oil you like or another essential oil and be sure to check out the recommended safety amounts. Clove is an awesome essential oil as is cinnamon, but good golly, a .5% usage of either has the potential to BURN. And speaking of orange essential oil, I truly and madly love the way it smells. I’d love to live in an orange and have that scent around me the whole day. Orange or red grapefruit. I’d never be sad again! The world would always be a bright and cheery place!
 So to make a “gel” based concoction from oils, butters, and waxes, it’s important to know your ingredients and how they interact and work together. If we have too much liquid oil, we just have a thick liquid. If we have too many butters and waxes, we have a balm. We want to dance on that perfect amount for what we want. AND we want to dance the jig. Knowing your weather is also an important for this type of recipe and also how warm or cool where you will store it. So this product is awesome, but very tricky.
 We’ve used sweet almond oil in this recipe for it meets all our guidelines for what we are looking for. It is great for the skin, and according to my massage lady, the skin seems to absorb sweet almond oil on its own a little too quickly for her liking. Which is part of the reason I am trying this new massage goop so I can keep her happy. Almond oil does contain emollient properties which is why many use it to improve skin tone. And emollient is usually an oil that softens the skin by filling in the spaces between the skin flakes and creating a smoother skin surface. It is also said that almond oil can help hydrate the skin and that many massage therapists prefer to use almond oil for giving massages as it meets the criteria they look for in that it provides great glide for your hands, and doesn’t sink in so quickly that you have to reapply often. But then again, my massage lady claims otherwise. So once again in this wonderful age of information at my fingertips, I’m going to have to side with her.
Shea butter is another one of those oils that is slowly peeking it’s head more often in things I make in The Scrub Me Down Kitchen. I stayed far away from the “shea crazy” when I first started DIY’ing as everyone and their knees used it in everything. And I wanted to try lots of other things. Like macadamia nut oil. Sigh. Moringa oil how I love you! And sea buckthorn oil, you’ve been my super skin secret for years long before the western world really knew about you. But I digress.
Shea is great in this recipe. I find shea butter has a much heavier feel than cocoa butter and since this is for a massage gel, we are using both the shea and the cocoa butter to impart their awesome higher melt point to help keep this as a gel and not a liquid. Shea butter melts at about 40-45C and cocoa butter at 34-38C. BUT I hear you. “Barb, you’ve added cocoa butter, shea butter AND beeswax! How will this gel you speak of be possible!” And to that I say dance said jig I told you about before! When you play with the ratios of solids to liquids in an anhydrous product (anhydrous= without water), you can then control the consistency of your final product. Like magic. Take that Harry Potter!
I wanted this to be a gel. So I made it a gel. To make a balm, usually you would add 80ish% liquid and about 20% wax to make yourself a nice solid body balm, but I wanted a gel. So rather than using all wax, I used a hard butter (cocoa) and a soft butter (shea) and decided to drastically reduced the beeswax to help it maintain some form.
If you live in a cooler climate or are approaching winter, this is a very good recipe. If you live in a warmer climate, I’d suggest first upping the beeswax to 8-10%, while reducing the sweet almond oil.
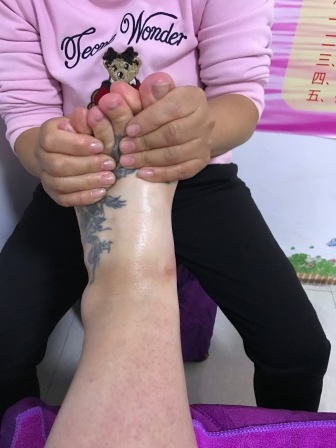
I dragged Sonia to the massage place across the way and we got ourselves some massages. The massage ladies were bombarded by questions asking about how they liked it, how they found it glided and slipped over skin. We also asked if they had a choice which would they prefer to use to massage their customers, all agreed this recipe was bangarang. They loved the way it sank in once they stopped massaging so that made their clean up easier, they liked the way that this gel didn’t need to be reapplied for the whole hour long massage. They also thought it wonderful how much use they’d get out of one 50g tin. They estimated that they would get ten back or ten foot massages from this size of tin.
How neat is that!

- Prepare your water bath/double boiler, keeping your water at a barely there simmer.
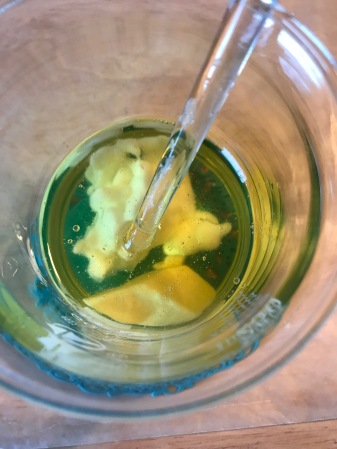
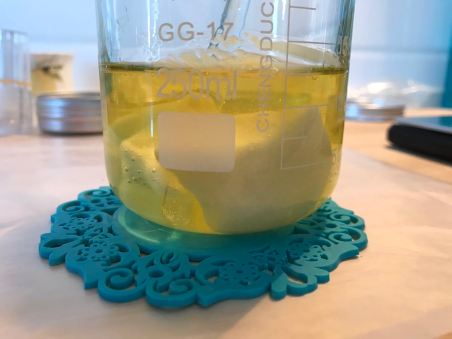
- Weigh out your sweet almond oil and beeswax into a heat resistant beaker or glass measuring cup and place in your water bath and wait until the beeswax is melted
- Weigh out your cocoa butter and shea butter into a separate container.
- Remove the melted beeswax and almond oil beaker from the water bath.
- Add in your cocoa butter and shea butter and stir to melt.
- If you need to, place your beaker back into the water bath to continue melting.
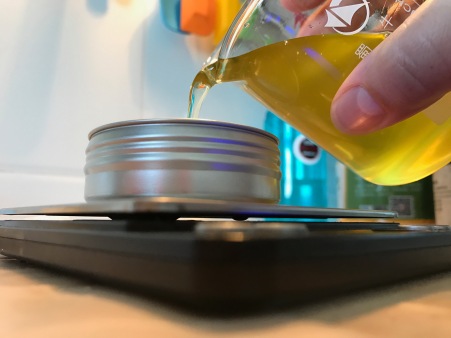
- Once your beaker has reached hand temperature ( you can wrap and hold your hand around the base of the beaker without it feeling uncomfortable), measure in your fragrance or essential oils.
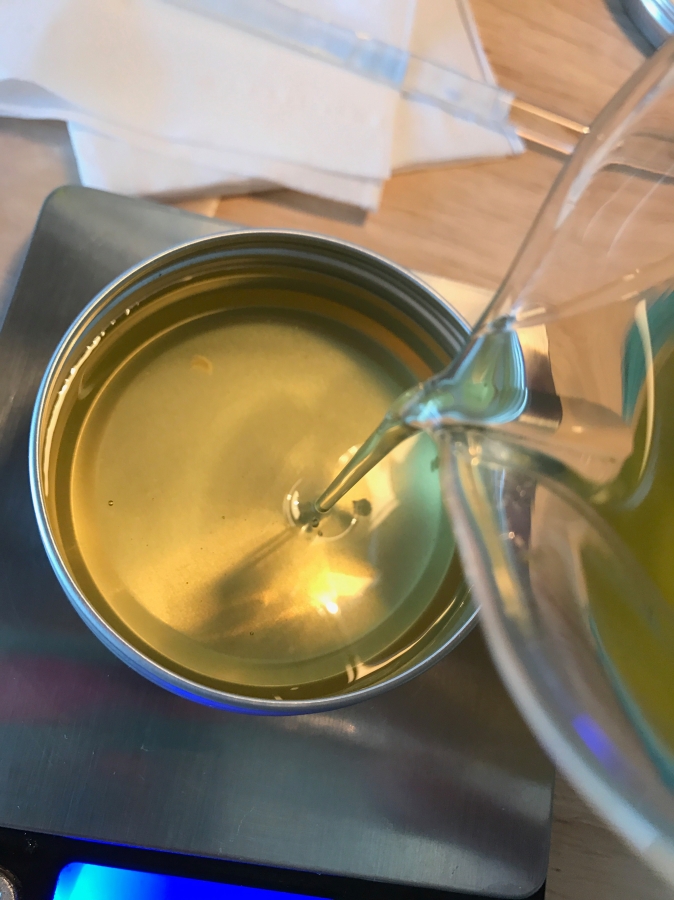
- Stir and decant into a 100g pot.
- Allow to cool. Cap and then run away for a massage!
Because this product contains no water, you do not need a preservative, but don’t go sticking your wet or dirty fingers into this!
Shelf life will be the life of your shortest lifespan oil or butter used.
Now my pretties! Get your tender tootsies rubbed and tell me how it goes!

Looks great Barb, and I bet it smells delish, I adore citrusy goodies. I really must have a go at making a gel type product. Thank you for another great recipe 😀 Lol I had to laugh when I read your previous post, about the bees being moved. Awww so they took their bees with them but wouldn’t take you? Lol I don’t think you would be very comfortable in a hive, be a tight squeeze 😛 x
LikeLiked by 1 person
LOL! TIght squeeze indeed!
LikeLike
Wow does that sound lovely! Nice idea! Sounds like it feels and smells so good!
LikeLiked by 1 person
Can’t wait to try it out with different scents! I’ve got a new recipe to try out based on this one to see how it works in Europe. So excited!
LikeLike
STOP with the giving me things to try!! This looks amazing, and I have all the ingredients to hand – Woop! Need some tins though, must but tins…
LikeLike
*buy… must BUY tins (also must sleep 😆)
LikeLike
Do both! Just don’t do both while you sleep
LikeLiked by 1 person
😆
LikeLiked by 1 person
Use a glass Bell jar? Mason jar? Beaker? I’m dying to find me some old wooden containers that they used around these parts ages ago to hold various things like this recipe. Can you imagine how awesome those pictures would be?
LikeLiked by 1 person
I have NONE of them… It’s surprising just how few containers I have lying around!!
LikeLiked by 1 person
I’m tossing almost all of mine this week. Move into the next apartment and I’ll give all of them to you!!! I need the space for my beakers.
LikeLiked by 1 person